

Click on a thumbnail to view full-size.
| Example | Description | |
|---|---|---|
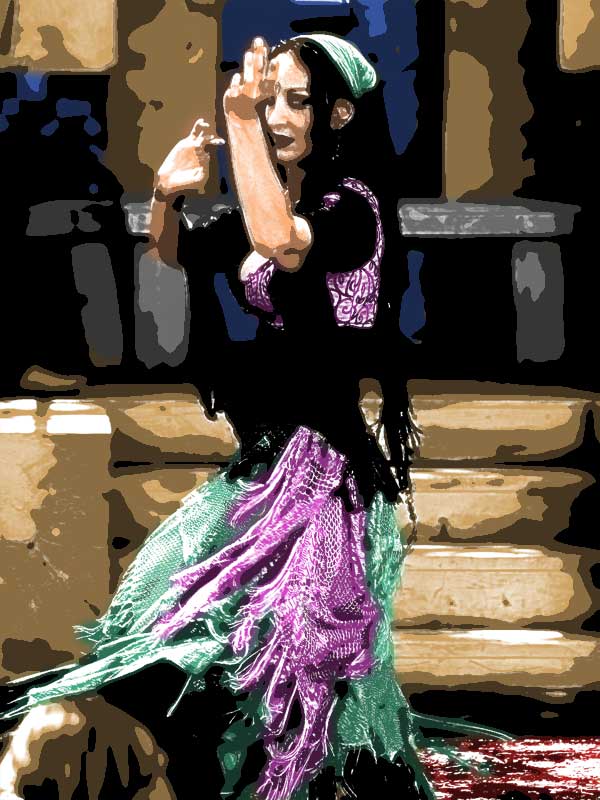
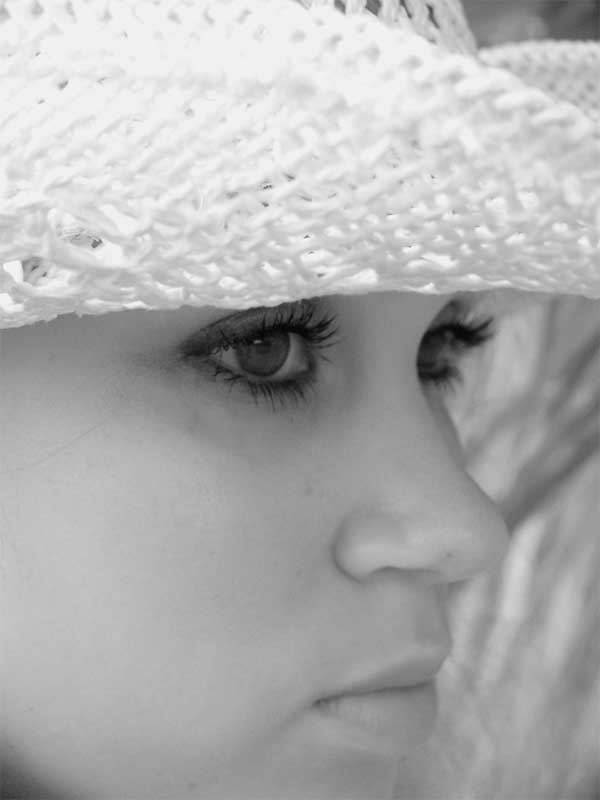 Before |
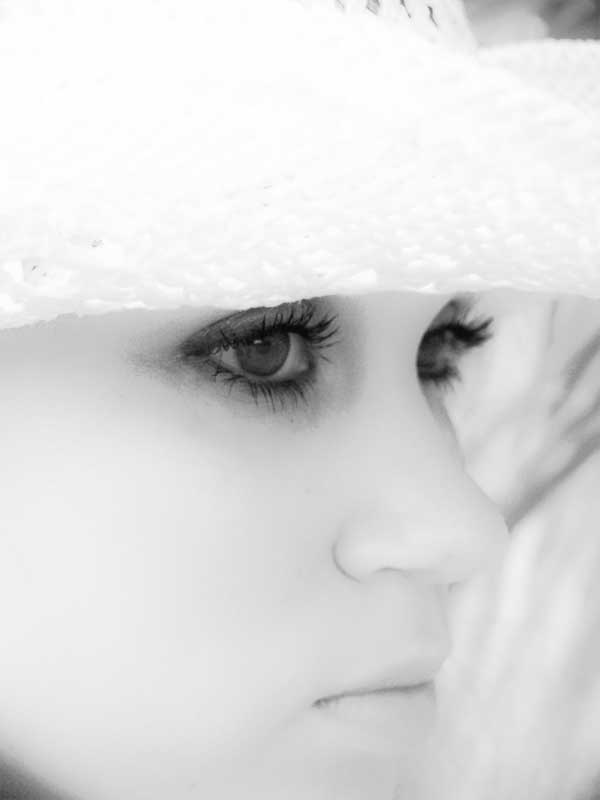 After |
To eliminate the whitewash effect, you could simply lower brightness of the source image. |
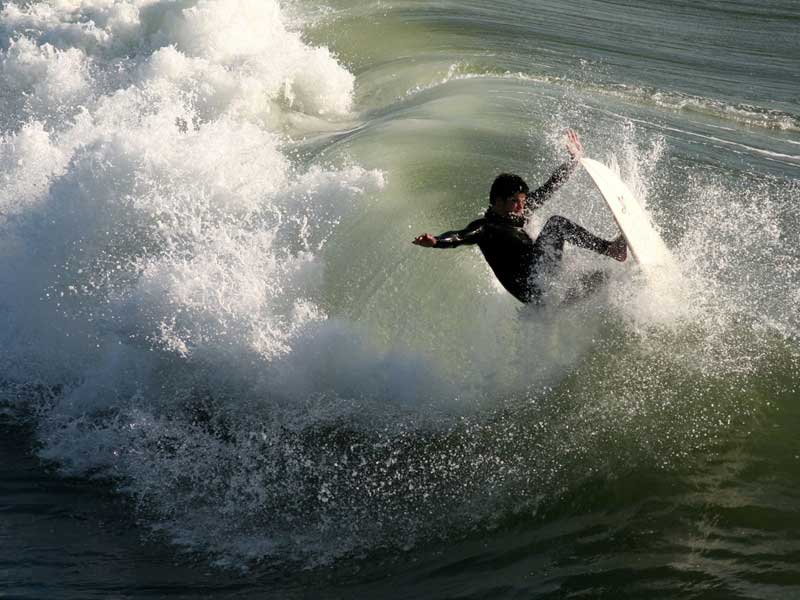
 Before |
 After |
|
 Before |
 After |
If you use Smart Objects, you can go back at any time and change any of the filters afterwards. |
 Before |
 After |
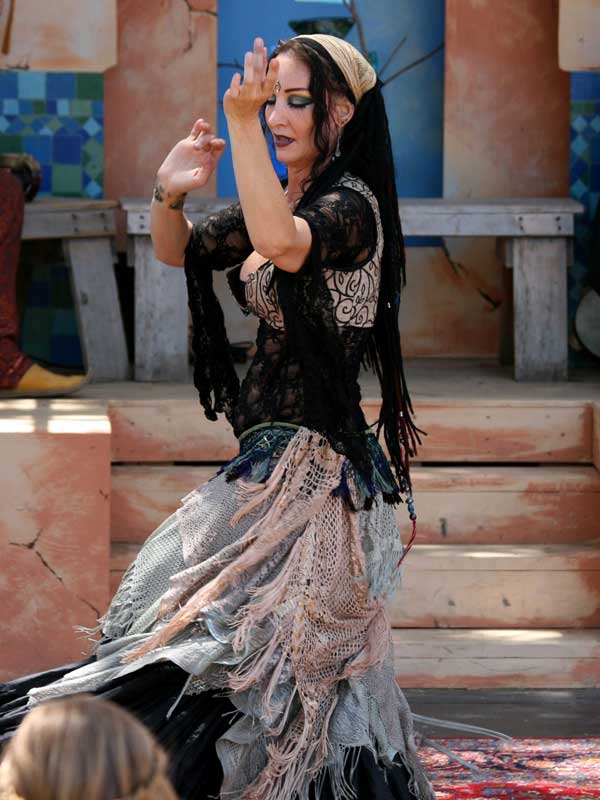
Use multiple color layers for easier (re-)editing. |
 Before |
 After |
|
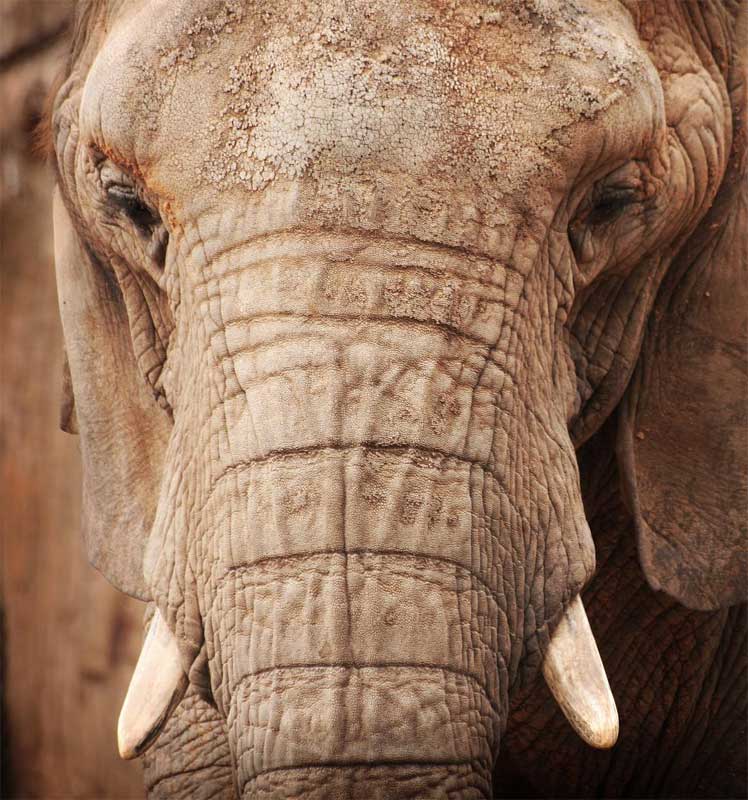 Before |
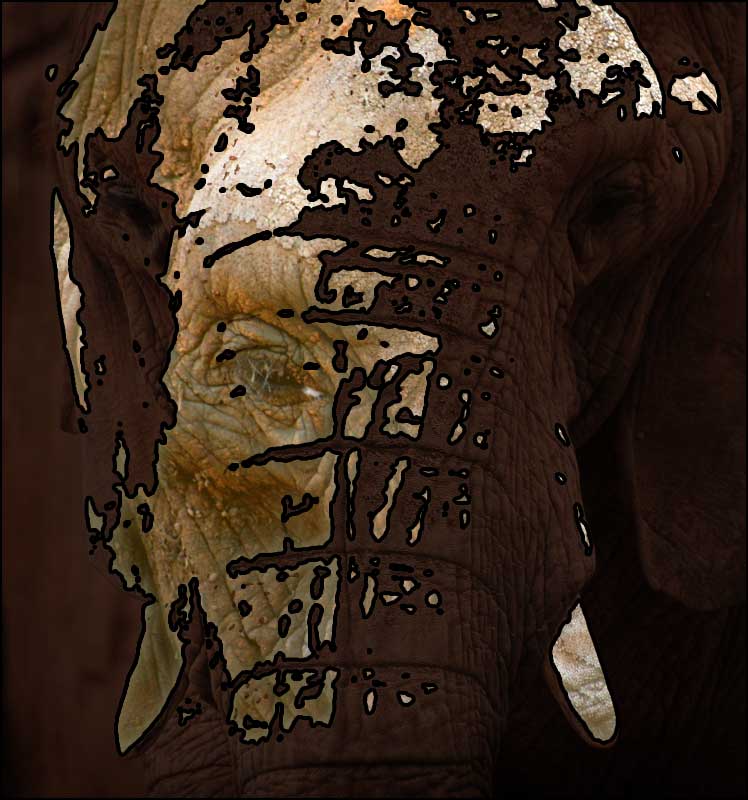 After |
Complex composition of two photographs of elephants.
|